How to Create a Service Listing on Dipsea
After your vendor account is approved, you can create listings directly from the Dipsea mobile app. The listing wizard has three steps — Basic, Details, and Media — and you can save progress at any point and come back later.
Before You Start
- Make sure you are logged in to the Dipsea app in Vendor mode.
- Have your business address, location coordinates, and service pricing ready.
- Prepare at least one photo (up to eight) — see our Photo Guidelines.
Opening the Listing Wizard
- Tap the Services tab in the bottom navigation.
- Tap the + button in the top right corner.
- Select the category that best fits your service.
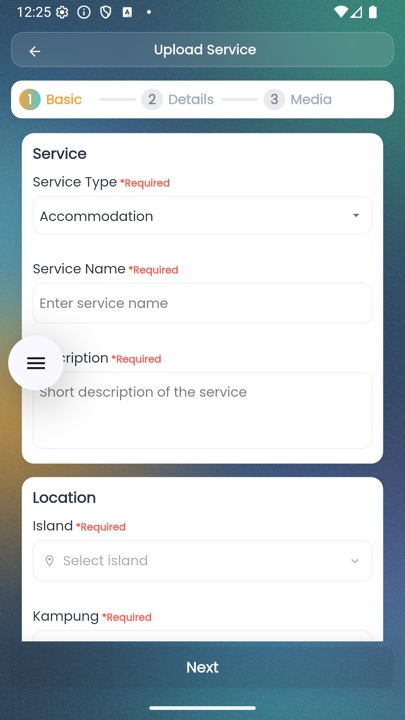
Step 1 — Basic Information
Fill in the essentials that describe your service:
- Service Type — confirm the category (Accommodation, Activity, etc.)
- Service Name — e.g. "Seaview Chalet at Kapas"
- Description — what makes your service special; be specific
- Island — pick from the searchable list
- Kampung — select the village within the island
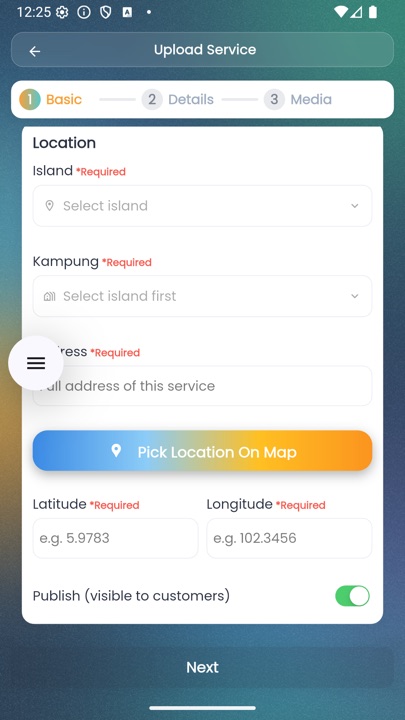
- Address — full property address
- Map Location — drop a pin at your exact location (latitude/longitude is filled automatically)
- Publish toggle — leave off while drafting, turn on when ready to go live
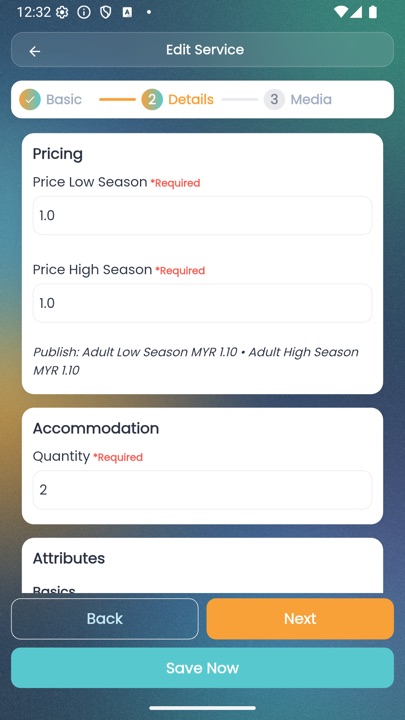
Step 2 — Details
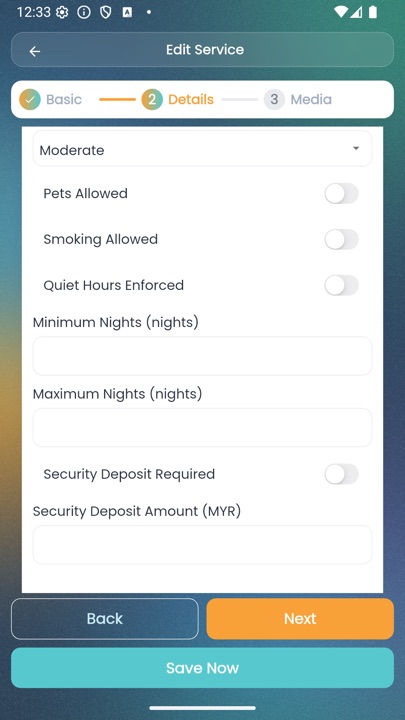
The fields that appear depend on the category you chose. Common fields include:
- Low Season Price — your standard rate during off-peak months
- High Season Price — your peak-season rate
- Quantity — how many rooms or units are available
- Capacity — max guests, bedrooms, beds, bathrooms (for accommodation)
- Duration and group size (for activities and day trips)
- Policies — cancellation (Flexible, Moderate, Strict), check-in method, pets, smoking, quiet hours
- Amenities — Wi-Fi, air-conditioning, hot water, parking, kitchen, laundry, etc.
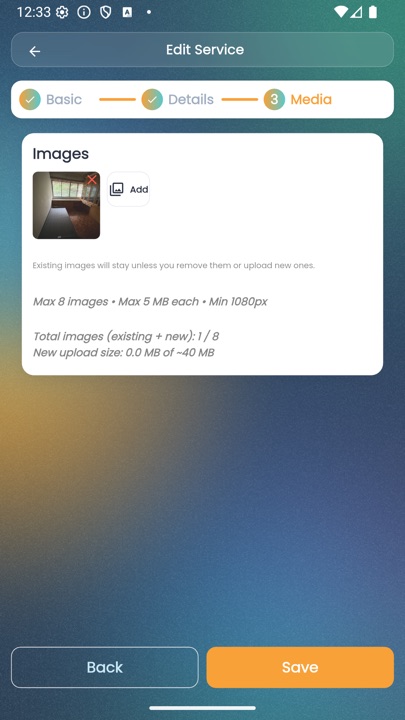
Step 3 — Media
Upload up to eight photos of your service. The first photo is the main image that appears in search results and social previews. Read the Photo Guidelines for size requirements and tips.
Preview & Publish
- On the service detail page, tap Preview to see how your listing looks to travelers.
- Check that pricing, photos, amenities, and the pinned map location are correct.
- Turn on the Publish toggle.
- Tap Save — your listing is now live and bookable.
Editing a Live Listing
You can edit any listing after it goes live by tapping Edit on the service detail page. Changes to price and policies take effect immediately for new bookings; bookings already confirmed keep the price they were booked at.
Have Questions?
If you get stuck during the listing process, email hello@dipseaisland.com and our team will help you finish setup.